Dialog Insight has an integration for Zapier, a tool used to automate actions such as Create a contact or Create a transaction. If you are using an external app to stock or collect data on your leads, contacts or transactions, you can synchronize or import this data into your Dialog Insight's project with Zapier (see the list of supported apps by Zapier).
For an initial import or for bigger volumes, it is recommended to use the Transfer feature. Then, for updates or additions, you can use a Zap, which works with a trigger event. By automating the import or synchronization of contacts or transactions, you limit the possibility of errors and avoid repetitive tasks.
In this article, you will learn to connect your Dialog Insight project and your Zapier account after generating the required keys. Then, you will be able to create an automation (Transfer or Zap).
Prerequisites
- Creating a Zapier account with a plan that includes a number of tasks corresponding to your needs.
- Understanding Zap and Transfer features.
- Understanding contact import and the structure of a project (to Create a contact).
- Understanding the import of data into a custom table (to Create a transaction).
Should I create a dedicated project for a Zapier automation? It depends on the type of data you want to sync and how you prefer to organize your sources in Dialog Insight. In general, it is not required to create a dedicated project to use Zapier. However, having a separate project can be recommended in the following situations:
|
Step 1: Generate the keys
Go in Project → Data Management → Integrations and double-click the Zapier integration. If you do not see the integration, contact us to add it to your project.
In the pop-up window, you can generate the required keys to connect your Dialog Insight project to your Zapier account. Click on Continue: 
You now have APIKey, Idkey and Idintegration and idProject: You will need the keys in the next step.
Step 2: Connect the project
Go to your Zapier account in the Apps section and search for the Dialog Insight app. When you find it, click on Connect:
Then, select the environment and fill in the required keys: For more information, see the Zapier documentation on connecting apps.
Step 3: Create a contact or a transaction
Now that your Zapier account is linked to your project in Dialog Insight, you can create a Transfer or a Zap.
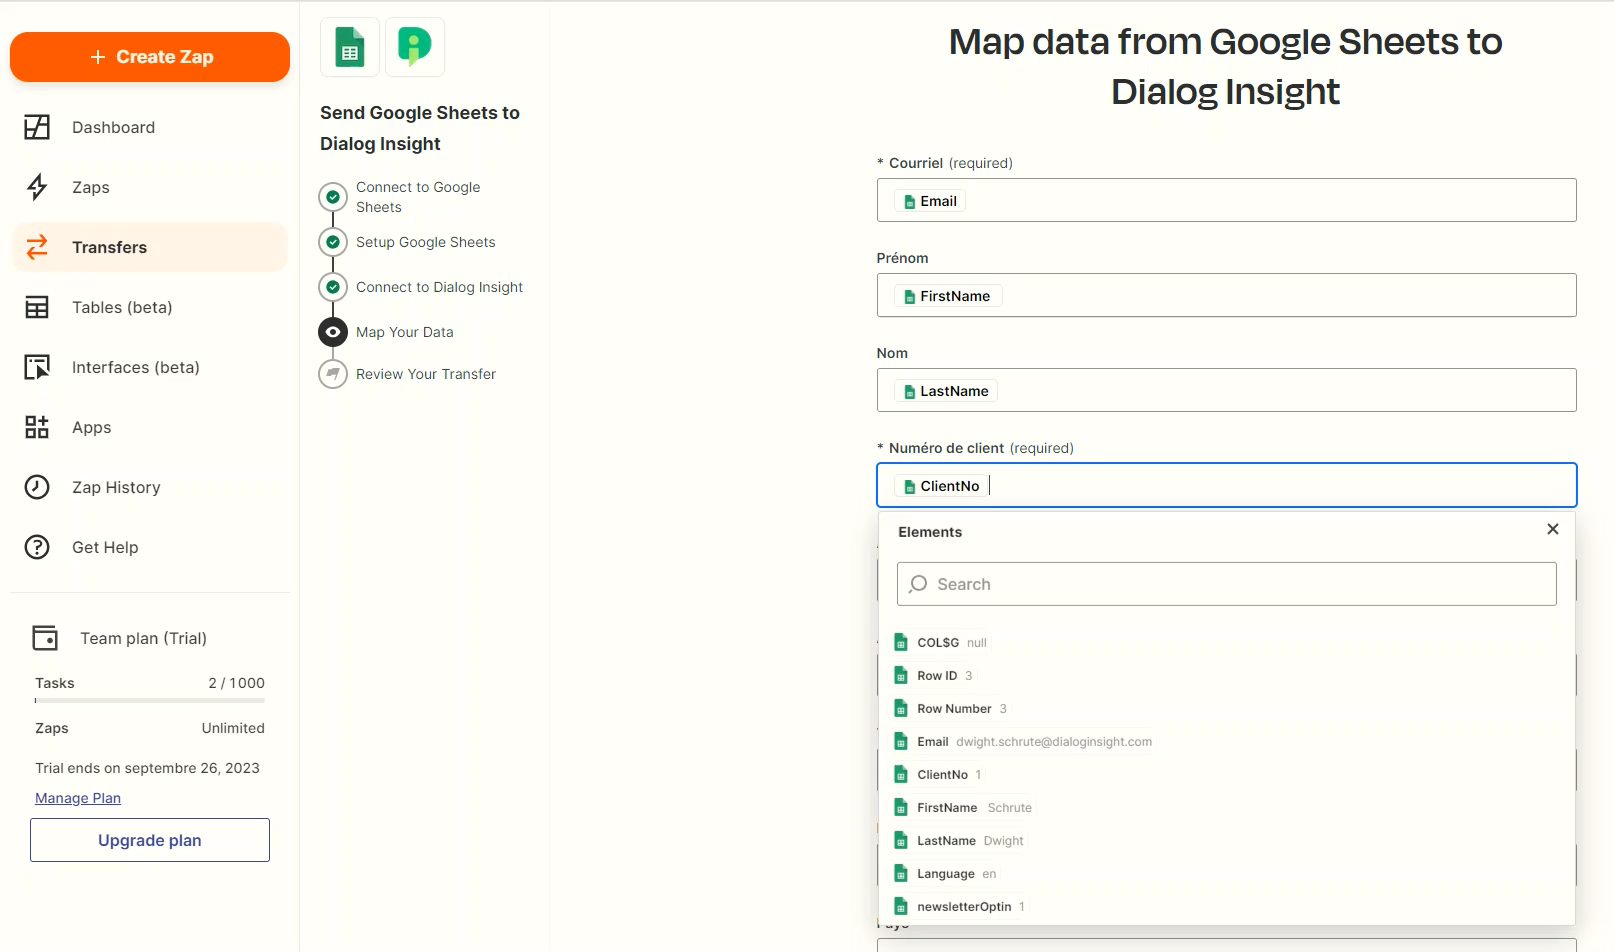
When importing with Transfer, choose Dialog Insight as the destination:
 At this step, you could choose to include opt-ins (for contact creation).
When creating a Zap, select Dialog Insight for the event and choose an action among those available (Create a contact or Create a transaction):
The field mapping for contacts or transactions will be different depending on the structure of your project. Here is an example for transactions:  For more information, read the documentation on Zaps.
Results
Imports or synchronization may take a certain time (in some cases 5 to 10 minutes). The contacts are added to the list of contacts and transactions to the Transaction table.

