The Salesforce integration allows you to synchronize your data (contacts, leads and other objects) between Salesforce and Dialog Insight. The synchronization works in both directions (except for optins that can be synchronized only from Dialog Insight to Salesforce). However, some restrictions apply for synchronizing contacts created in a Dialog Insight project (see the diagram in the Prerequisites section).
Prerequisites
Structure of Dialog Insight projects and data separation |
| Before configuring the integration, determine whether you need to create dedicated projects for Salesforce. This depends on whether you need to separate the contacts coming from this data source. If you’re unsure of the best approach for your situation, feel free to contact our team for guidance tailored to your specific context. In general, it is not recommended to configure more than one Dialog Insight integration within the same project, as this can lead to data conflicts, mapping issues, or unpredictable behavior during synchronization. In a CDP structure, if you want to distinguish contacts coming from different sources, it is recommended to create a dedicated source projects for Salesforce. These projects will then act as an independent sources whose data can be pushed into your unified project. You must first evaluate your needs. Depending on the data you want to synchronize, you may have to create more than one project. In the diagram, there are examples of supported types of projects and triggers. You could use a type A or B project (or both). If you acquire contacts (create contacts) in Dialog Insight, you must use a type B project to synchronize these new contacts toward Salesforce (thus creating these contacts in Salesforce). Next, you can synchronize these contacts from Salesforce to a type A project used for your communications.  **Optins are only synchronized from Dialog Insight to Salesforce.** **Optins are only synchronized from Dialog Insight to Salesforce.** |
Primary key and project's fields Every project must have a primary key (an ID to identify each contact and to ensure there are no duplicates). See the diagram to know which primary key is recommended depending on the project's type. Make sure you have the necessary fields to receive or send data. The format of the fields should be compatible with fields from Salesforce. Do not forget to build the tables after creating your project. |
Step 1: Configure an External Connection
Go to Project → Data Management → External Connections and click Third party connections list (under External Connections). Then, click Create a new third party connection: 
Select Salesforce as the source, give a name to your connection and click on See third-party service authorizations:
Click on Create an authorization:
Give a name to the authorization and click on Authorize access. When it is approved, click on Continue: When it is done, select the authorization and click on Save.
Step 2: Install the Plugin
This step is not necessary for synchronizing data from Dialog Insight to Salesforce. When installing the plugin, it is done on all the projects contained in your Dialog Insight account.
Go to the edition of the third party connection you just created by clicking on Edit:
Click on the link to install the plugin:
You will have to log in to your account. If you have a previous version of the plugin, you will receive a notification for uninstalling it. You will have to reconfigure some settings in Salesforce you had done.
When you are asked
For the question "What if existing components names conflict with ones in this package?",
it is recommended to choose Do not install. For the authorized group of users, it is recommended to choose Install for all users:
When you are done choosing the options, click on Install.
Then, approve the Dialog Insight domain(s) you are currently using and click on Continue:
A confirmation will tell you the installation is complete (it may take several minutes):
Step 3: Add a Destination Project
For Salesforce to know which project to use to send or receive data, you must add Destination Project.
In Salesforce, go to DI Destination Projects, then click on New: You must then fill in the required keys and click on Authorize.
These keys are available on the page Edit third party connection: 
If you have several projects, add each project as a Destination Project.
Step 4: Synchronize the Data
Now, you will see how to configure the synchronization for each Salesforce object (Contacts, Leads or any other Salesforce object that is compatible with your project), depending on the data you want to transfer. You can synchronize any type of Salesforce object (standard or custom) toward a custom table of your Dialog Insight project provided that the format of the fields of the table are compatible with the format of the fields from the synchronized Salesforce object. To learn more on the structure of the Salesforce objects available in your acount, see the Object Manager documentation. You must configure a transfer for every object and for every project implied.
To understand what are the supported triggers, see the diagram at the beginning of this article in the Prerequisites section. The following process must be done for every object to synchronize (and for every project implied if you are using more than one). To setup an object synchronization, complete the following configurations:

Fill-in the required information. When you are done, click Save, then, click the + under Action:
 For the DI Object Name, you must type the code of the custom table. You can find the code in the Relational data section (under Configuration). For the contacts' table of your project, the code would be Contact with a capital letter.
Then, add the fields from the Salesforce object depending on those you want to use for the synchronization and confirm your selection by clicking on Save:
 Do not forget to include the field corresponding to the primary key of your project or the custom table implied.
  Then, choose the Data type:
 For Salesforce objects (standard or custom), select among your custom tables in your list.
Click on Opt-ins:

Add opt-ins among those available in the list:


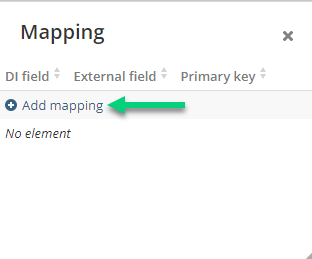
Click Add mapping:
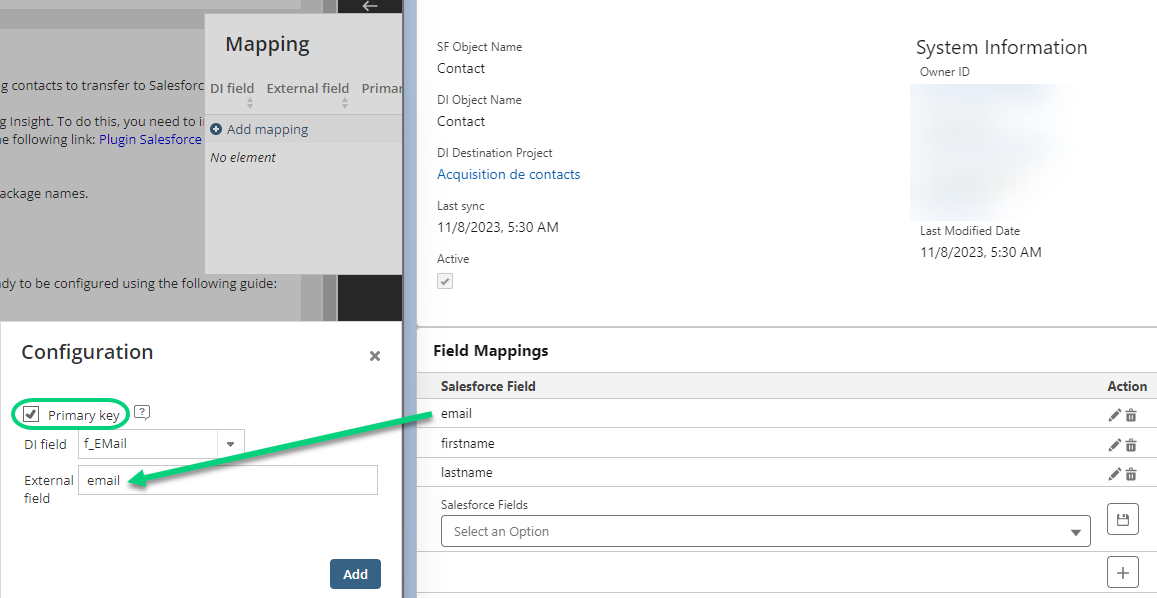
Start by mapping the primary key (depending on the structure of your project). Type the name of the field (as on the left) as it appears in Salesforce (as on the right):
When you are done with the mapping, click Activate:

Go back to External connections and click on Create a data integration:

Then, select the connection to use and check the operations (triggers) that apply to your goals:
 Click on Activate when you are ready to synchronize.
Step 5: First Manual Import with a CSV File
After activating the synchronisation, the tables do not contain data. You can do a first data load to the Dialog Insight table or the Salesforce object depending on the case.
Some useful ressources: